


The operating guide for the audio processor mainly includes the following steps:
Preparation :
Read the manual: Before using the digital audio processor, be sure to read the product manual carefully to understand the product's functions, interface layout, operation methods and safety precautions.
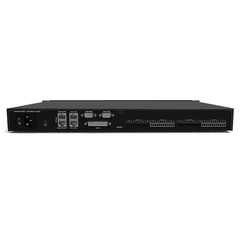
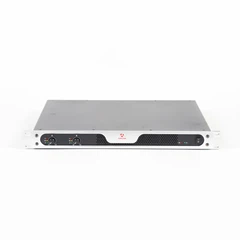
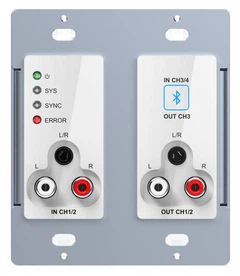
System Connectivity: Properly connect the digital audio processor to the audio system according to the system requirements. Determine which output channel is used to control the full-range speaker, which output channel is used to control the subwoofer, etc.
Setup Phase:
Enter the editing interface: After connecting the cable, enter the editing interface of the processor according to the instructions in the manual. The entry method may be different for different products, please refer to the product manual for specific methods.
Routing Settings: Utilize the processor's routing function to determine the signal source of the output channel. For example, if you choose stereo sound reinforcement, you can select the output channel, 3 from input A, and the output channel, 4 from input B.
Crossover point setting: Set the working frequency band of the speaker according to the technical characteristics or actual requirements of the speaker, that is, the crossover point. In the crossover module, set the lower limit frequency (HPF) and upper frequency (LPF), and select the appropriate filter mode and slope.
Level Adjustment: Check whether the initial level of each channel is at 0dB, if there is any deviation, you need to adjust it to 0dB. Level control is generally set in the GAIN function.
Commissioning phase :
Polarity check: After connecting the signal to let the system emit sound, use the polarity phase meter to check whether the polarity of the speaker is uniform. If there is any inconsistency, check whether the line is reversed; If the line is correct but the polarity is reversed, the polarity of the signal can be reversed using the polarity flip function of the processor's output channel.
Delay adjustment: Use the tool to measure the transmission time difference between the full-range speaker and the subwoofer, and use the delay function of the processor to adjust the delay of the speaker with a longer transmission time, so that the transmission time of each speaker is the same.
EQ Adjustment: Enter the EQ setting interface and adjust it as needed to achieve the best sound quality.
Advanced Functional Applications:
Dynamic processing: Set compressors, limiters and other dynamic processing functions according to your needs to optimize the dynamic range of the audio.
Equalization Adjustment: Use the processor's equalizer function to fine-tune the frequency response of the audio to achieve the best sound quality.
Add special effects: If needed, you can add special effects such as reverb and delay to enhance the expressiveness of the audio.
Scene Saving and Switching:
Save the configuration: After debugging is complete, remember to save the current configuration so that you can quickly recover it later.
Scene switching: If the processor supports multi-scene configuration, you can set and switch different scene configurations according to actual needs to adapt to different use occasions.
Scheduled Maintenance & Upgrades :
Periodic Inspection: Regularly inspect the processor's cables and interfaces to ensure that they are not loose or damaged.
Software Upgrades: Such as


